Spicy Gochujang Butternut Squash

One of my favorite parts of cooking is trying out new flavors and spices. It really is a meal-breaker for me, and that’s why I have a pantry overflowing with spice containers (said very literally sometimes I can’t even shut the pantry door!). Well I met my new match of flavors: Gochujang.

I have to admit, I always veered away from it at grocery stores since I had no experience with it and it frankly was intimidating. One day, I saw it listed in as an ingredient in a dish I wanted to make, so I Googled it and learned it really is simple to use. After all, it is just a red chili paste often made in Korean food. I make Thai curry dishes with curry paste all the time how could it be that much different? It’s not.

So the next time I was at the grocery store (it happened to be Whole Foods), I picked it up and put it in my shopping cart. I splurged and got this Sesame Gochujang that is amazing! I can’t wait to try the other flavors! Anyways, I went home and found a bag of butternut squash that was left unopened from the prior week’s grocery haul. So of course, I decided to roast the squash with a marinade made with the Gochujang. I researched what went into a good Gochujang sauce and then I experimented.

I came up with the recipe below that was the perfect subtle hint of spice without being to overpowering. However, I suggest doubling up the recipe if you like your squash saucy and extra spicy. I knew I would be using leftover squash in lunches that week, so I did not want the flavor to be too much.

I hope you enjoy!

Ingredients:

  • 10-12 oz cubed butternut squash
  • 1/2 tsp sesame oil
  • 1 tsp soy sauce
  • 1 tsp Gochujang
  • 1/4 tsp toasted sesame seeds

Directions:

  1. Preheat oven to 425 degrees
  2. Make the sauce by combining the sesame oil, soy sauce, Gochujang, and sesame seeds. Whisk until smooth.
  3. Mix together the sauce with the cubed butternut squash. Once the squash is evenly coated, place on a greased baking sheet.
  4. Bake for 30 minutes, flipping half-way through.

It’s a Pesto World

A few posts back, I shared my Basil Pesto recipe that I absolutely love and I enjoy on the reg. Well, I decided one week to make a HUGE batch of it and incorporate the pesto into at least one meal a day during the work week. Do you think I got sick of pesto? Not a chance. I could eat it every day for every meal. And although I have zero self control, I do try and diversify my meals every once in awhile. This is also a great meal-prep trick. I always try to use the same ingredients across many of my meals in a given week. This reduces the money spent at the grocery store and also reduces waste. Admittingly, I have yet to master the art of buying just enough groceries to last me the week. I always seem to be throwing out unused old fruits and veggies!

So here is my week with pesto at a glance:

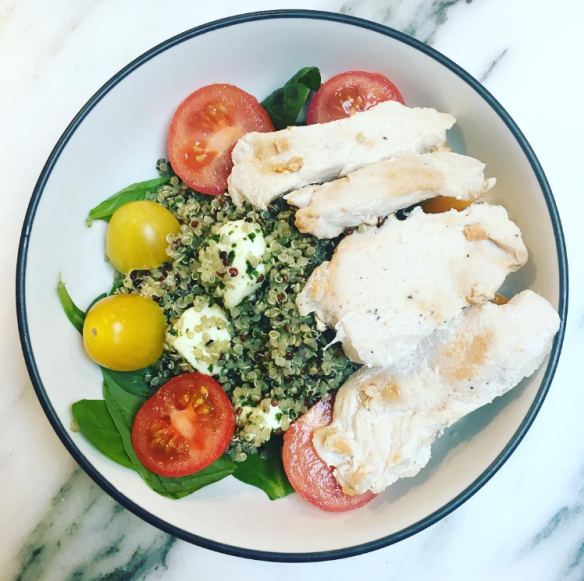
Monday: Pesto Quinoa Salad

pesto-quinoa

I’ve posted this recipe a few times on Instagram, and that is because it is one of my favorite salads! It is so easy to put together and prep for the whole week, and it doesn’t involve a laundry list of ingredients.

Ingredients: ( makes one serving- double or triple up for the week)

1-2 Tbs Basil Pesto
1/2 Cup cooked Quinoa
1/2 cup halved Heirloom tomatoes
arugula
olive oil
lemon juice
A few mozzarella cheese balls
4 oz grilled chicken

Directions:

1. Mix together quinoa, pesto, and mozzarella cheese in a mixing bowl.
2. Squeeze a half a lemon or some lemon juice and 1 tsp olive oil on a bed of arugula.
3. On top of the arugula, add the quinoa pesto mixture, halved tomatoes, and grilled chicken strips.
Enjoy!

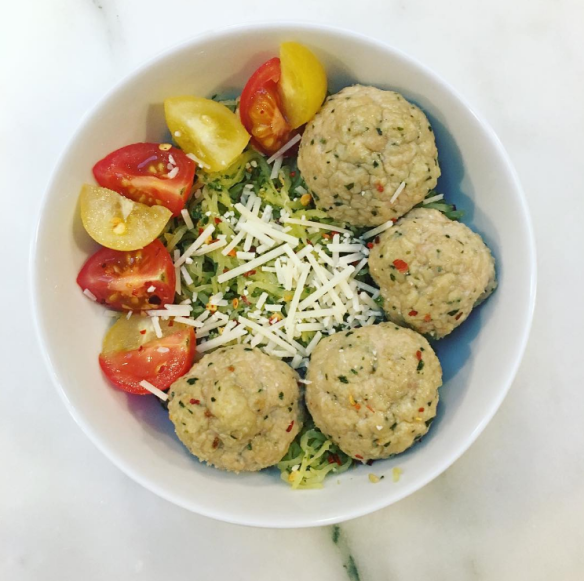
Tuesday: Pesto Meatballs with spaghetti squash

pesto-meatballs

I made a big batch of these meatballs and froze half to enjoy in the weeks to come. I love meatballs because you can throw them on pasta, put in a soup, or add to salads. The options are really endless. These are also very lean and a healthy alternative to pre-made meatballs.

To make the meatballs:

Ingredients:

1 pound ground chicken
1/4 cup breadcrumbs
1/4 cup parmesan cheese
1/4 cup part-skim ricotta cheese
3-4 tablespoons Basil Pesto
Spices (salt, pepper, italian seasonings, garlic, etc)

Directions:

1. Mix together all ingredients.
2. Form into meatballs (i like to make mini meatballs, but you can make them as big as you want!)
3. Place on baking pan and bake in oven on 400 degrees for 20 min (or until cooked through).
Enjoy!

Wednesday: Pesto Quinoa Salad

fullsizerender-5

I never said repeats were cheating!

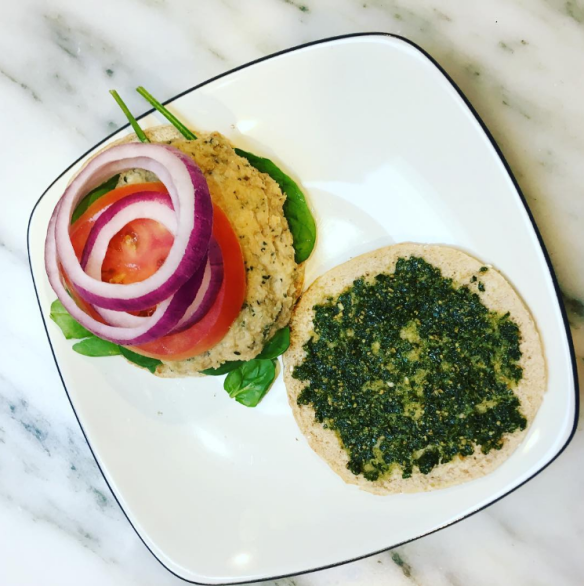
Thursday: Pesto Burger

capture

This is the same exact recipe as the meatballs, just formed into burger patties! Build out your burger to however you would like it! I used a sandwich thin, sliced red onion, sliced tomatoes, spinach, more pesto, and the patty! So delicious!

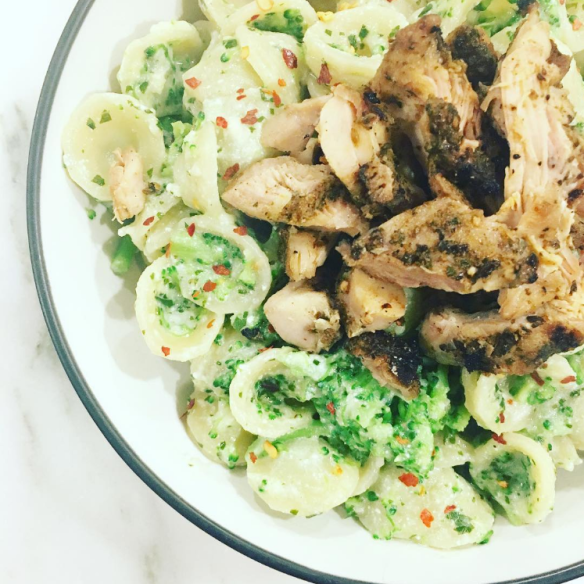
Friday: Pesto Ricotta Broccoli Pasta

pesto-broccolu

Ingredients: (makes 2 servings)

4 oz Pasta
1-2 cups Broccoli
3-4 Tbs Basil Pesto
3-4 Tbs Part-skim Ricotta Cheese
Parmesan Cheese
1 Tbs olive oil
salt + pepper
red pepper flakes

Directions:

1. Cook pasta according to package instructions. Reserve 1/2 cup water.
2. Place broccoli in boiling water for 5 minutes to steam
3. Mix together the pasta, broccoli, pesto, ricotta, olive oil, parmesan, and spices. Add reserved pasta water to desired consistency.
Enjoy!

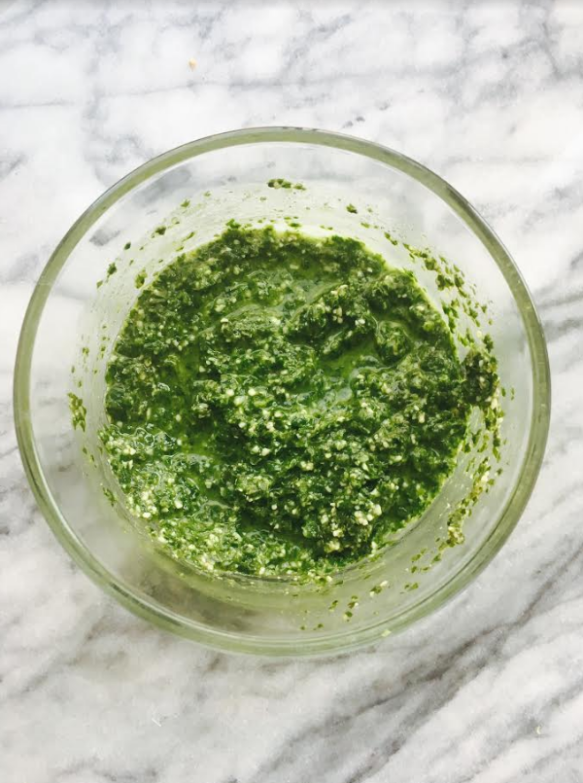
pesto

Homemade Basil Pesto

My battle with pesto started from a young age when I was always told to limit the amount of it that I put on my ravioli. When I’m out at an Italian restaurant, I never go with the pesto because I know how high those calorie counts can get. Well, I’m happy to say that I now eat my pesto, and I eat however much of it I want!

pesto broccolu.PNG


I am so happy to share with you my skinny-fied version of pesto. It is packed with basil and free of guilt. I pretty much put it on everything when I have a batch of this in my fridge. In fact, watch out for a future post where I share how I incorporated my pesto into at least one meal every day of the week. It was amazing.

Capture.PNG

This recipe is extremely simple. All there is to it is a few ingredients and a food processor. No experience necessary. Enjoy!

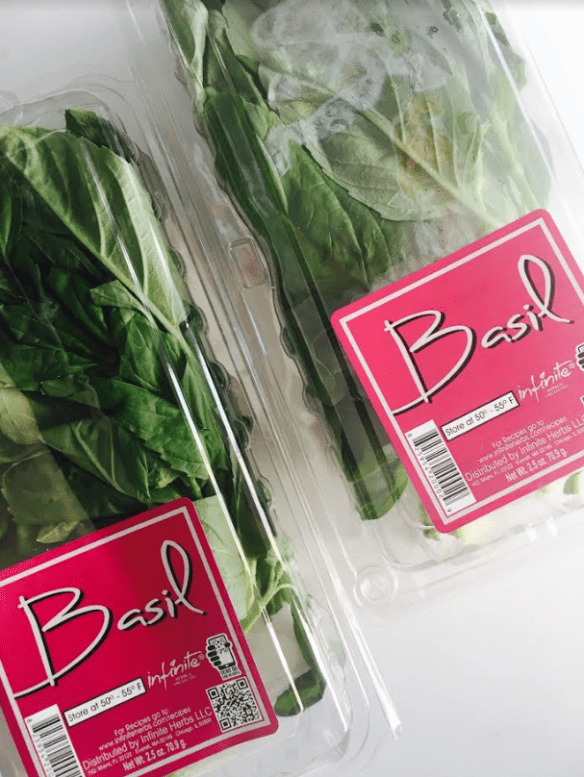
basil.PNG

pesto

Ingredients (makes 6-8 servings):

  • 2 cups packed fresh basil
  • 1/3 cup Parmesan cheese
  • 2 garlic cloves (or 2 tsp garlic powder)
  • 1/4 tsp salt
  • 1/4 tsp pepper
  • 1 Tbs lemon juice
  • 3 Tbs water
  • 3 1/2 Tbs Olive Oil

Directions:

  1. In a food processor, add basil, parmesan cheese, garlic, salt, pepper, lemon juice, and water. Start blending while slowly adding the olive oil. Blend until desired consistency. You can always add more water to taste.

pesto quinoa.PNG

I would love to hear what you think about this pesto recipe!

pesto meatballs.PNG

Farro Quinoa Salad

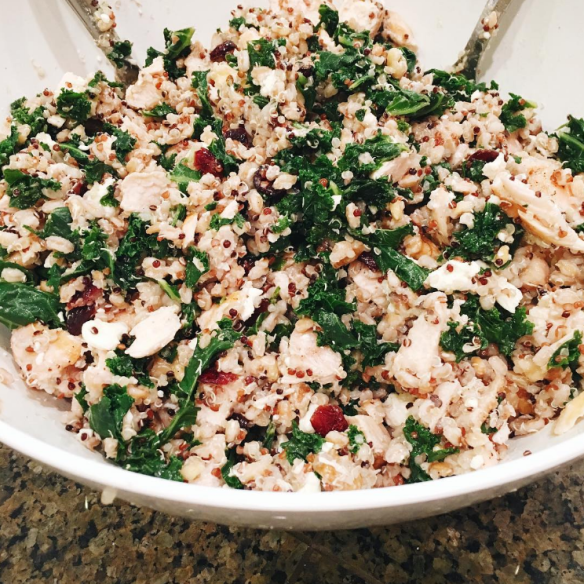
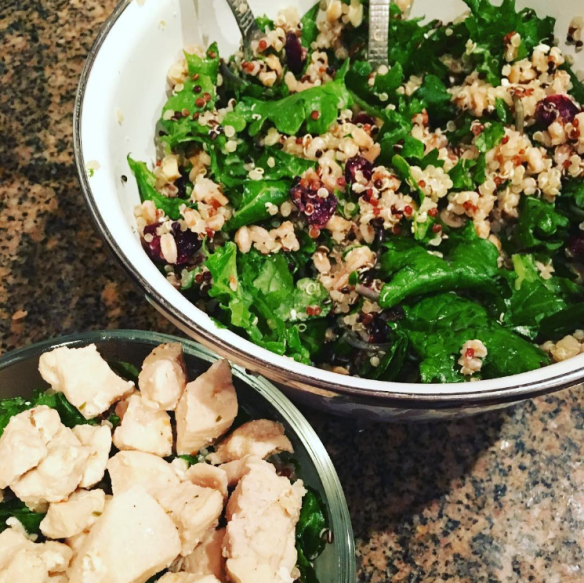
It’s no secret that I love to make big batches of lunches to last the whole week, and one of my favorite salads to make in big batches is this Farro Quinoa Salad. It is so simple and easy to make. I recently made this salad for my whole family over the holiday vacation, and it was a hit with everyone!

Here’s how to make it (serves roughly 6-8 servings):

Ingredients:

  • 1 Lemon
  • Olive Oil
  • 1 bag of Kale (or a few bunches)
  • 3/4 cup quinoa, dry
  • 1 1/2 cups broth
  • 1 cup farro, quick-cooking
  • 1-1 1/2 lbs chicken

Toppings (no measurements included, as you can add the desired amount to your liking):

  • dried cranberries
  • chopped walnuts
  • crumbled feta

farroquinoa

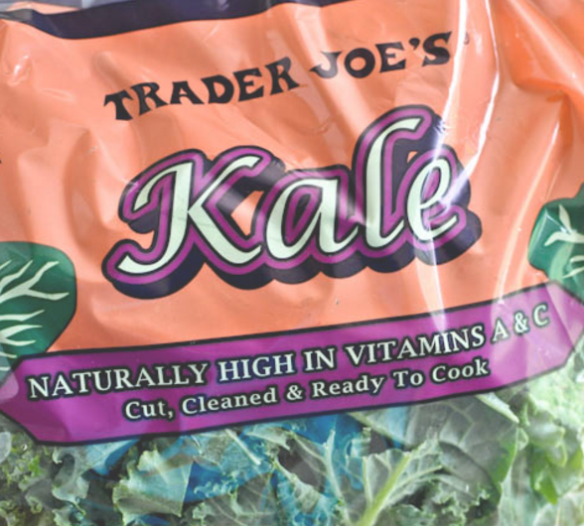
Step 1: Marinate a bag of Kale (I use Trader Joe’s) in Olive Oil and Lemon Juice. I like to separate and discard out the chunky stems from the kale. Also, I like to use just enough lemon juice and olive oil to only slightly coat the kale (roughly half a small/medium lemon juiced and a tablespoon of olive oil). Massage the Kale with your hands to coat evenly. If I leave enough time, I will marinate the kale for an hour or two before preparing the salad, but if I don’t plan ahead, I will marinate while I prepare the rest of the salad.

kale

Step 2: Make the quinoa (using the broth) and farro according to package instructions. Let grains cool a few minutes after cooking is completed.

Step 3: While the grains are cooking, grill or pan-fry the chicken through. Set aside and cut into strips or cubes.

Step 4: Assemble the salad. Combine the Kale, Quinoa, Farro, Chicken, Feta, Walnuts, and Cranberries. Mix together with another few squeezes of lemon and another drizzle of olive oil. Add salt, pepper, and garlic powder if desired.

farroquinoasalad.PNG

Lemongrass Coconut Curry with Mahi Mahi

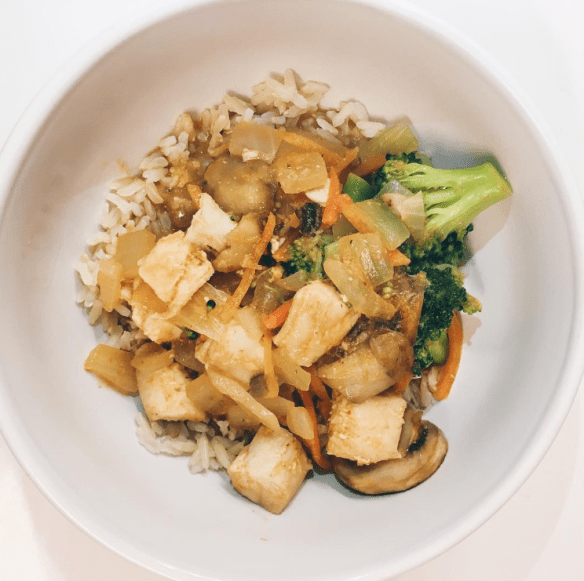
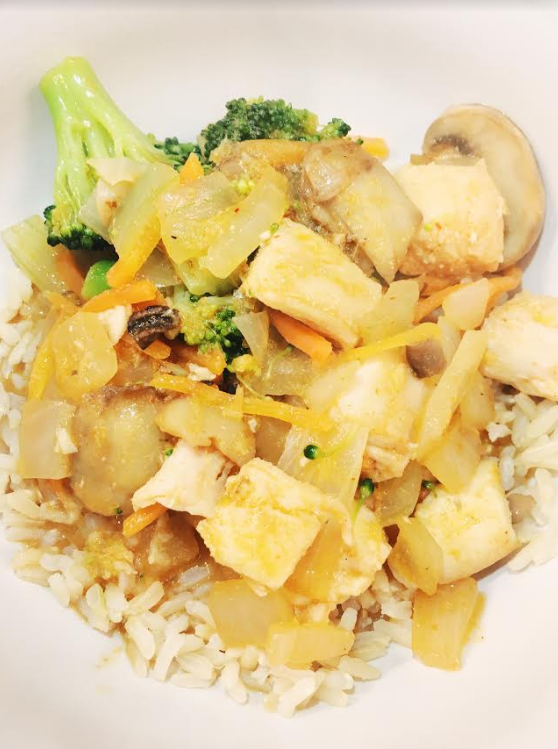
Curry may be my favorite dish to make, and turns out it’s one of the easiest and most delicious! I have made so many varieties of curry (green curry, red curry, curry with chicken, shrimp, fish, etc). I always have the main ingredients on hand because it’s usually the dish I turn to when I’m not sure what to make for dinner. Not only is it light and healthy, but you can mix and match the protein and veggies that go in it so it’s never boring!

lemongrascurry.PNG

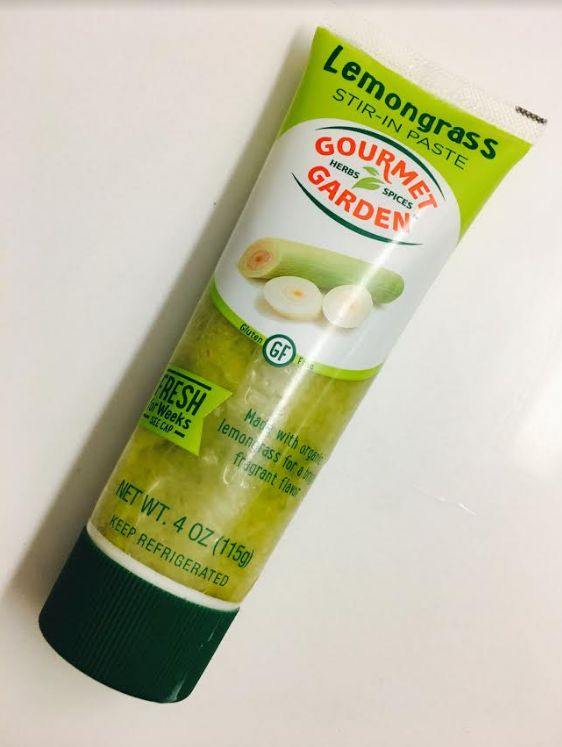
I recently discovered Lemongrass. Now, beware, I use the paste. This is only because I did not want to add yet another grocery store to my usual 4 I frequent on my weekly shopping trips. It saves time and money because the paste lasts for months (if you don’t use it up too fast!). I’m loving this added flavor in my curries!

curry3

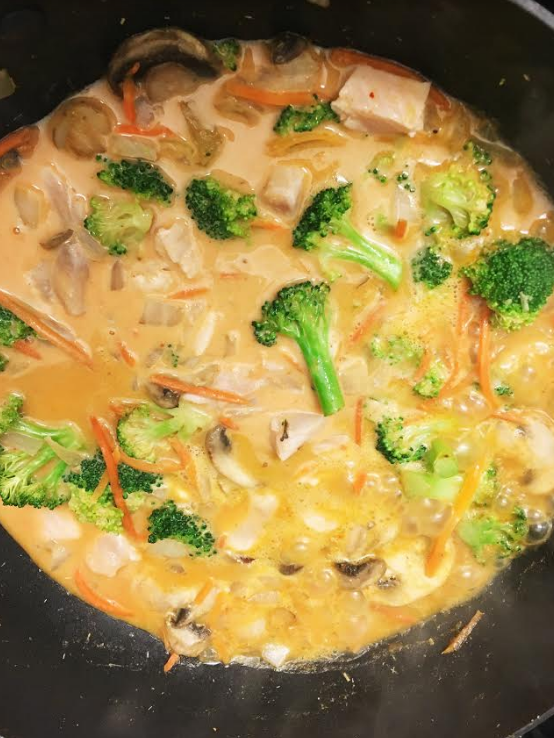
I love to make this recipe in a big wok, so I am never worried that the abundant amount of veggies I use will not fit. My philosophy is that there are never too many veggies! It’s a great way to get the volume and feel like you are eating a huge portion of food without the added calories.

curry1.PNG

When the curry is done, I love to serve it over rice. My favorite is Trader Joe’s Brown Jasmine Rice. This one takes a while to cook, so when I’m in a hurry, I usually have Trader Joe’s frozen white Jasmine Rice on hand, which only takes 3 minutes to cook in the microwave.

curry2.PNG

Here’s how to make the Lemongrass Coconut Curry

Ingredients:

  • 2 Servings Mahi Mahi fillets (cut into cubes)
  • Assorted Veggies (I like mushrooms, carrots, broccoli, and onions, but you can add whatever veggies you would like!)
  • 1 Garlic clove (or 1 tsp garlic powder)
  • 1 tsp Ginger (I use powder)
  • 1 tsp Sesame Oil (optional, or you can add olive oil- I like the flavor of sesame oil in asian dishes)
  • Pinch of Salt
  • 1-1 1/4 cup Low-fat Coconut Milk (canned)
  • 1 Tbs Lemongrass paste
  • 1-2 Tbs Red Curry Paste 
  • 1 tsp Fish Sauce
  • Spices (I like to use a variety of curry powder, turmeric, and garam masala- add in a few dashes of each or more for desired flavor)

Directions:

  1. Spray a wok or large pan with cooking spray and heat on medium. Optional- add 1 tsp sesame oil.
  2. Add assorted veggies, garlic, ginger, and salt to the pan. Stir and cook for 5-8 minutes, or until veggies are browned a bit.
  3. Add coconut milk, lemongrass paste, curry paste, fish sauce, and spices. Beware with the curry paste- start with 1 Tbs and add more for desired taste. Stir to combine all ingredients.
  4. Add Mahi Mahi and stir. Let simmer on medium-low heat until fish is cooked through (10-12 minutes).
  5. Remove from heat and serve with Jasmine Rice.

lemongrascurry

Icelandic Food Adventures

Last summer, I travelled to Iceland and embarked on a road trip around the entire country. It was nothing like I expected, and everything I had dreamed of.

There is one road that circles the entirety of Iceland, and it took us 6 nights and 7 days to complete the road trip. Along the way, we tried to hit all of the sites including waterfalls (a lot of them!), glacier tours, black sand beaches, coastal towns, and so much more!

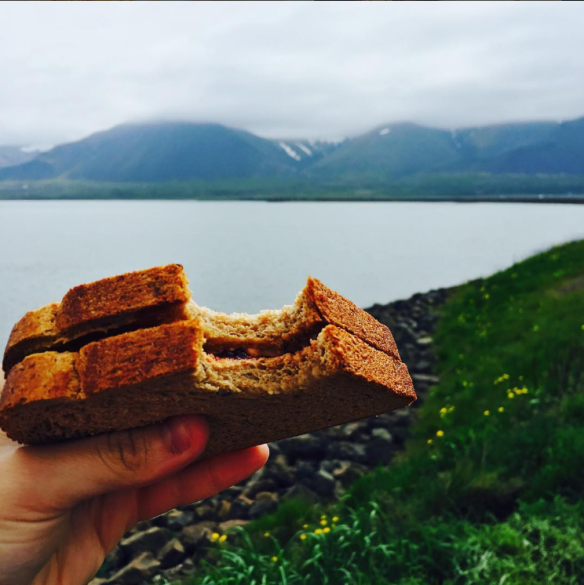
The only downside is that everything is so expensive in Iceland! I was only one year out of college, so I did not have the funds to splurge on meals out for breakfast, lunch, and dinner day after day. So I did what I do best- I made some PB&Js for the road! These became my best friend, and also cut down on time stopping for food when there was so much out there to see!

pbj

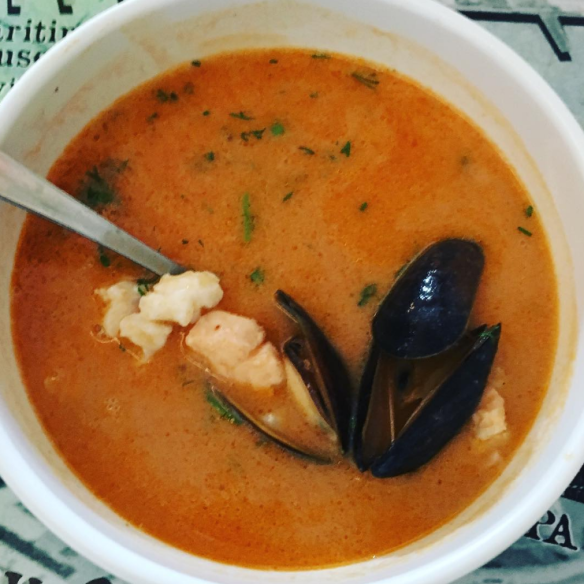
Though I loved my PB&Js, I had to try some of the local eats! My favorite, which happens to be on the cheaper side, is the fish soup. It was always so fresh and filled with seafood of all kinds. It was also the perfect lunch to enjoy on the colder Iceland days. Not to mention, it was light and protein-packed– perfect for a road trip! My favorite fish soup came from a restaurant in Reykjavik called Fish and Chips.

icelandsoup

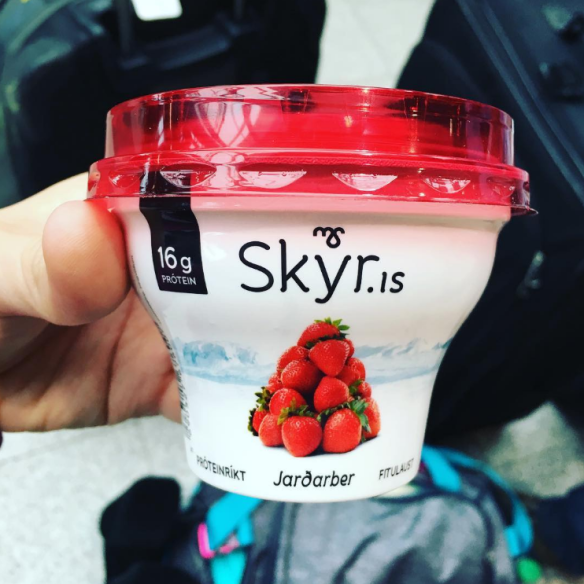
And last but not least, probably my favorite Icelandic food is the Skyr yogurt. I was able to find these everywhere, and I think I had one pretty much every morning. Skyr comes in a variety of flavors and was SO creamy and delicious! When I returned to the US, I missed it so much I had to find some here. And that is when my addiction to Siggi’s began!

icelandyogurt


Essential Tools in Meal Prep – The Muffin Pan

There are certain tools in the kitchen that make meal prepping simple and easy, and today I want to highlight one of my favorite tools…the muffin pan! I love making a big batch of muffins for the week because they are so easy to grab and go on busy days. And I’m not just talking about those pastry muffins. I also love to make egg muffins for the days when making eggs for breakfast is just out of the question.

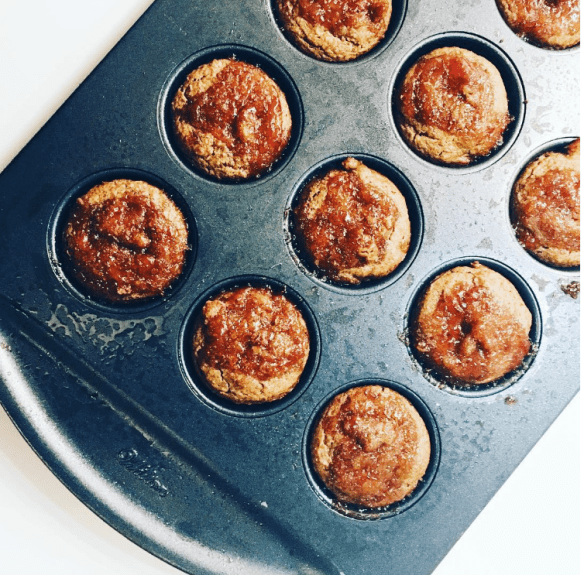
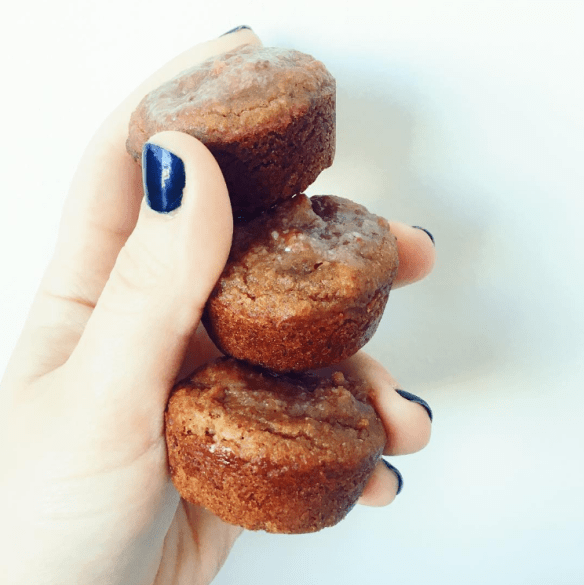
Pastry Muffins: Now, if you are thinking muffins cannot be good for you, think again! There are tons of recipes out there for muffins made with natural and healthy ingredients, while keeping a great taste. I have made muffins with protein powder, mashed bananas, and my new favorite ingredient, chickpeas! My most recent batch of muffins were the Blondie Muffins from the Tone It Up Challenge.

blondiemuffins

I did make some modifications to the recipe to cater to ingredients I already had in my pantry. The recipe calls for almond butter in the batter, but instead I used 1/2 Sunflower butter and 1/2 Snickerdoodle flavored almond butter (Buffbake). I also made a glaze to put on top of the muffins made of coconut oil (melted) + agave + strawberry jam. I put a spoonful of each in a bowl and mixed it all together. When the muffins had 5 min left in the oven, I took them out and put some glaze over each muffin before returning the pan to the oven.

blondiemuf.PNG

They came out so well! I had my doubts about the chickpeas in muffins, but you can’t even tell they are in there. I will definitely be making these again.

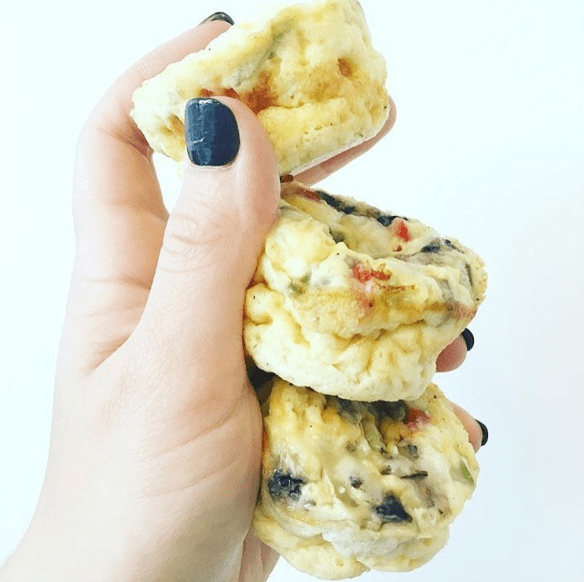
Egg Muffins: These are my fave. I usually make a big batch of hard boiled eggs to grab in the mornings or as a snack, but egg muffins are a great way to switch it up once in awhile. And they are super easy to make, since it only takes a few minutes to make a pan full of muffins for the entire week!

eggmuffins.PNG

To make, start with a base of a combo of eggs and egg whites. I always like to use a portion of full eggs to keep those healthy fats and flavor, but also incorporate the egg whites to keep that calorie count low without losing the protein. I find that 8-9 eggs is sufficient to make 12 mini muffins (3 mini muffins = 1 serving). I usually do 6 eggs and 3 egg whites, but you can always split it out to have more egg whites (although I recommend at least 1/2 of the egg portion is whole eggs).

Next, add the ingredients! This is where it gets fun. Any variety of veggies (and proteins, such as ground turkey or ham) works! Some ideas are:

  • spinach
  • mushrooms
  • onion
  • tomatoes
  • asparagus
  • bell pepper
  • zucchini
  • broccoli

Mix the eggs and the veggies together in a bowl, and add salt, pepper, and any other spices you want (chives, scallions, dill, garlic- the options are endless!). Spray the muffin pan and add the egg mixture filling each cup about 3/4 of the way. Bake the muffins on 350 degrees for 20-25 minutes.

eggmuffinpuc

Meal prepping can seem daunting and take hours, but if you utilize tools such as a muffin pan, it can cut down on that time and effort. And as always, practice makes perfect. My first batch of egg muffins turned out, well, not so great. You just have to experiment with the ingredients and methods that work for you.

My Go-To Weeknight Meal

It’s important to have that go-to meal to turn to when life gets busy or tries to knock you down. On a day when all you feel like doing is indulging in that comfort food, it doesn’t have to turn out all that bad. Why? Because there are “skinny” alternatives to your favorite dishes. I finally found mine. Thank you Gina Homolka, author of the Skinnytaste Cookbook.

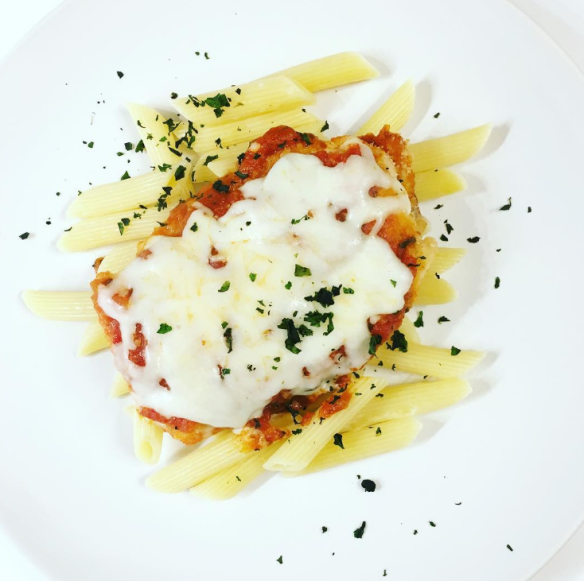
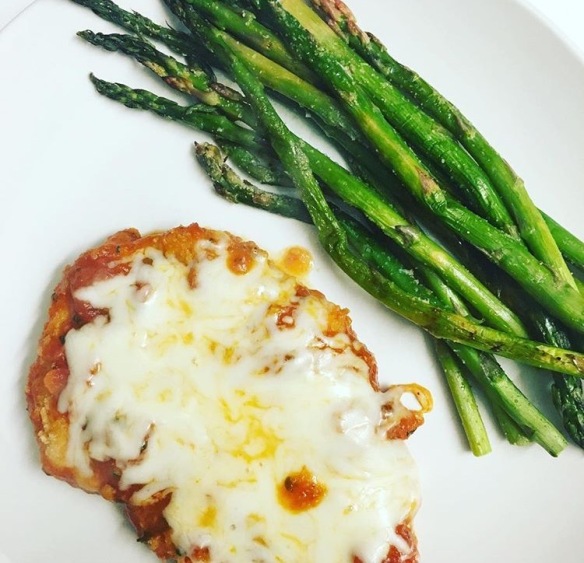
Growing up, my favorite food was always pasta. Well, basically anything Italian. I had the amazing opportunity to travel to Italy, and it was all that I dreamed of. Pasta, Pizza, Gelato! I love ordering the Chicken Parmesan at my fave Italian restaurant because it also comes with a side dish of penne marinara- best of both worlds! Well now I’m all about the balance, meaning there must be a way to feel like I am enjoying my favorite restaurant dish while practicing healthy habits and portion control. The Skinnytaste Skinny Chicken Parmesan is my answer.

skinnychickenparm

I deviate from the recipe in order to include my secret ingredient that I add to most meals that call for marinara sauce… Trader Joe’s Arrabiata Sauce! For this recipe, the chicken is first baked to perfection and then put in a skillet with the sauce and cheese. It tastes so delicious, and I don’t think I will ever get sick of this meal. I always change up the sides, too. Sometimes I make a portion of pasta, other times I serve it with veggies like asparagus. Either way, it always turns out amazing!

fullsizerender-8

My point to this post is that I never feel like I’m “dieting” or giving up my favorite meals. Whether it is finding healthier alternatives or just indulging in the actual thing, just do you.

Welcome to Balancing in the Kitchen!

Welcome to the Blog! I am SO excited to get this site up and running. I decided to start this blog as another outlet to share my eats and keep myself accountable, while hopefully inspiring others to really think about their eating and lifestyle habits.

Around this time last year, I decided to stop worrying about the calorie-counting and point-tracking, and I joined the Tone It Up Nutrition Plan. I know, joining a nutrition plan sounds even worse than calorie-counting- but this one is different! I didn’t have to worry about counting anything! And better yet, I didn’t have to follow a day-by-day plan for all of my meals (although it was available if I wanted to do so). It was really up to me to educate myself on the science behind what and how to feed my body. And though I did not know at the time, this became a lifestyle change for me. Now, one year later, I am still at it. Not necessarily sticking to the TIU plan (although they just came out with a challenge on January 1st with so many great looking recipes), but sticking with my philosophy that it’s all about knowing what to feed your body. And most importantly, how to balance life with it.

Here’s a few things that I have learned along the way:

  • Eat 5 meals a day (breakfast, mid-morning snack, lunch, afternoon snack, dinner). This cuts out most cravings and desperate hunger. No longer do I find myself sitting at my desk craving the chips from the vending machine.
  • Plan, Plan, Plan! Every weekend, I sit down and plan my meals for the week. And then on Sunday, I prep most of my meals, which takes out all of the guess-work and excuses.
  • Embrace the balance. I no longer worry about those nights where I reach for the piece of bread, or order my fave (not-so-healthy) dish at a restaurant. It makes me happy, so why not? As long as I know this isn’t an every-day type of occurrence, then there is no guilt at all!
  • You can eat those superfoods even on a budget! I am a few years out of college, so I can by no means afford all of those fancy, organic foods (hello, Whole Foods!). BUT, you can splurge on one of them each week, so you don’t break the bank on one shopping trip.
  • Stay accountable. The reason I have my Instagram account and this blog. I find inspiration from the accounts I follow, as well as the comments I receive on my own posts. When I feel like people are paying attention, I find myself wanting to stick with it and show everyone who my best self is.